The more time you spend at your laptop and the more often you carry it from place to place, whether in a bag, in a backpack or in your luggage with all your belongings, the more it gets dirty and clogged with dust. And if you also practice regular snacking in front of the screen of this device, stains on the keys and crumbs on the rest of the surface cannot be avoided.

And meanwhile, debris and dust in the middle cause not only aesthetic displeasure, but also become the cause of poor performance of the machine. Such “clogs” lead to the fact that the laptop overheats during operationSometimes it shuts down unexpectedly by itself. So if you pay attention to such its “vagaries” or hear more clearly the noise of the fan during resource-intensive processes of the computer, it’s time to clean the dust out of the insides of your laptop.
What will you need for cleaning?
To get rid of dust and crumbs from the inside, you do not have to immediately take it to a service center and pay separately for this service. With enough care and attention, you can do it at home by following our tips.
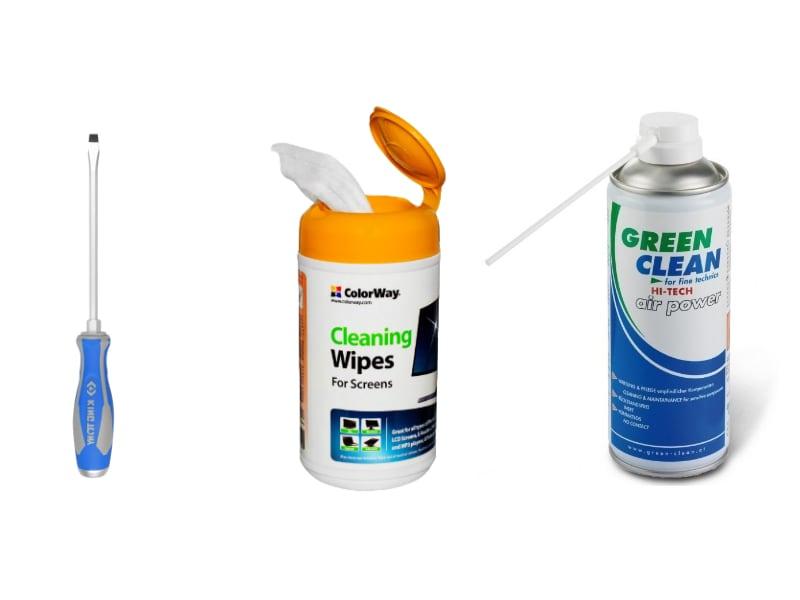
So, you’ll need:
- A small screwdriver to unscrew the screws that hold the back of the laptop;
- A can of compressed air (available at building or computer stores);
- alcohol-based wet wipes (for wiping the screen and keyboard);
- A lint-free brush;
- A cleaning spray for cleaning removed keys.
Where to start?
- Prepare for cleaning the device: unplug the laptop from the mains, prepare a place to work – a completely flat and clean surface. Remember, the fewer objects there will be where you disassemble and clean the laptop, the less likely it is that some small part will be lost from sight. If you plan to remove and clean the keyboard, take a picture of it before you do soso that you can confidently return the keys to their proper places after cleaning. Prepare a damp microfiber cloth to periodically wipe the table on which you are working from debris, crumbs, and dust spilled from the laptop, so as not to “transfer” the dirt from one part to another.
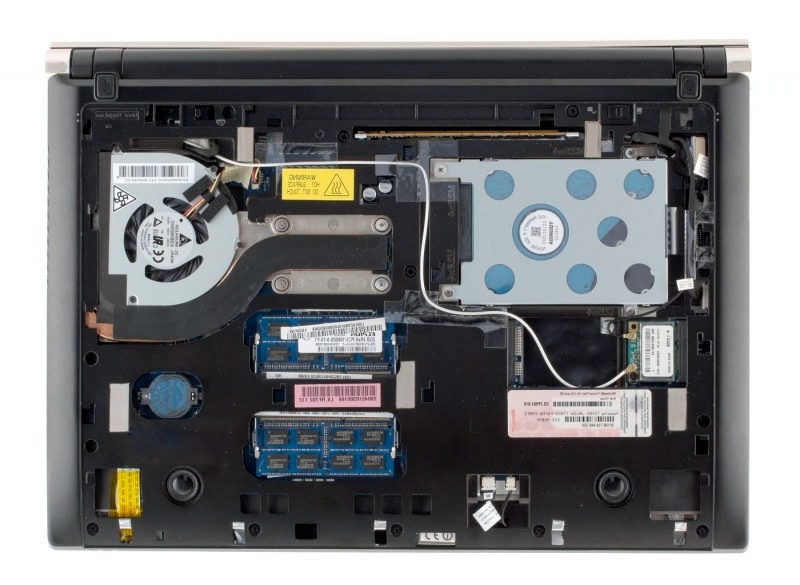
- Using an appropriately sized screwdriver, unscrew all of the screws that hold the back panel cover in place. As a rule, with a little effort it should slide to the side and allow access to the “insides”. If the cover does not give way, do not apply too much force, but make sure that you have unscrewed all the screws.
- Once the cover is removed, proceed to dusting. Most of it accumulates on the blades of the cooler (fan) and on the copper tubes connecting the graphics card to the processor and the radiator to the cooler. Large clumps of dust can be removed with a cotton swab, and the rest of the dust can be “blown away” with a can of compressed air. Be careful with the heat sink tubes and fins. Don’t bend them! After this step is finished, put the cover back in place and tighten all the bolts carefully.
- Proceed to the most painstaking work – cleaning the keyboard. A fair amount of dust, hair, crumbs, and even your pet’s hair gets inside through the holes between the keys. And if you regularly drip something sweet on the keyboard, the keys can get really stuck and nailed down with a thick layer of dirt. To clean them, gently pry a stuck key with something sharp and wipe it with a cloth with a grease and dirt remover.
- Carefully wipe the areas between the buttons with an antibacterial cloth and brush them with a lint-free brush.
- Don’t forget the extra connectors: for headphones, microphone, USB and other cables. Blow dust from there as well, because a layer of dust and dirt can make contact with other devices difficult.
- Blow out the dust and wipe the vents with a cloth.
- At the very end, wipe the screen clean with an alcohol wipe.
Important Tips:
- No need to disassemble the laptop yourself if the warranty period has not yet expired! Otherwise, if necessary, the service staff will not undertake the repair of your machine under warranty.
- The cleanliness and regular cleaning of your laptop from dust and dirt determines the longevity and speed of operation.
- A computer that is used stationary is recommended to be cleaned once every six months. If your laptop migrates with you and stands on sofas, then on a bed, then in a backpack, dust it once every 3 months.
- Try not to breathe the dust blowing out of your laptop!
- If after cleaning your laptop is still very hot and the noise has not become quieter, do not delay in contacting a service center.